If your character wanders or the camera creeps while your thumbs are off the sticks, your Joy-Con or Pro Controller may have stick drift — and Joy-Con drift is common enough that Nintendo has run free repair programs over it. A reliable way to check is a Nintendo Switch controller drift test that reads how far each stick sits from neutral and turns it into a plain verdict.
This guide shows how to run a Switch controller drift test in under a minute, how to read the result, and how to tell genuine Joy-Con drift apart from a setting that just feels like drift. No app, no account, no soldering.
Why Joy-Cons and Switch controllers drift
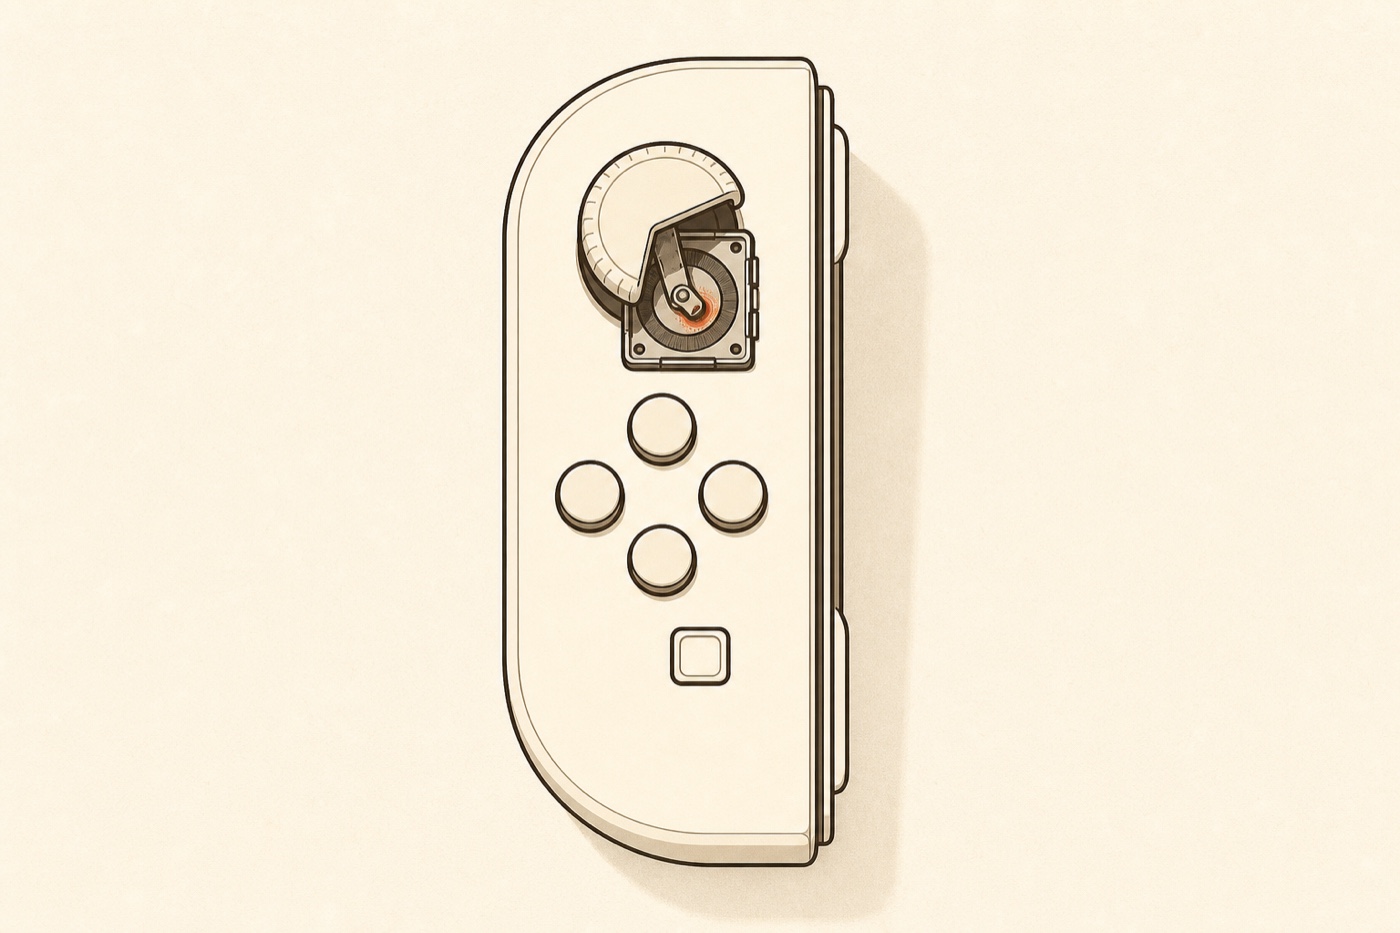
Joy-Con and standard Switch Pro Controller sticks are built around a traditional potentiometer. Every time you push a stick, a tiny wiper drags across a contact strip. Over months of play that strip wears, dust works its way in, and the controller starts reporting movement even when the stick is centered. The game reads that phantom input as a real command, so your character drifts, your aim pulls, or menus scroll on their own.
The Joy-Con earned a reputation for this because its stick module is compact and sees heavy use, but the wearing mechanism is the same one in almost every analog stick. It isn’t a sign you did anything wrong. The useful question isn’t why, it’s how bad — and that’s what a Switch controller drift test gives you a plain read on.
Quickest check: the Switch’s own calibration screen
Before you reach for a computer, the Switch has a rough built-in check. Go to System Settings → Controllers and Sensors → Calibrate Control Sticks and watch the dot: with your thumb off the stick, a drifting stick nudges the dot off-center on its own.
It’s a good first glance, but it gives you no clear line — the dot wobbles, and “is that too far?” is a judgment call. For a flat PASS / DRIFTING / FAIL verdict you can write down and compare before and after a fix, use the browser test below.
How to run a Nintendo Switch controller drift test (in your browser)
The browser test reads your controller through the Gamepad API, so you run it from a computer rather than the console.
Step by step
- Pair your controller with a PC or Mac over Bluetooth. For a single Joy-Con, hold the small round sync button on its rail until the lights run, then pair it from your computer’s Bluetooth menu. A Pro Controller pairs the same way, or connect it with a USB-C cable.
- Open the free stick drift test in your browser. Chrome and Edge usually have the best Gamepad API compatibility for this test.
- Press any button so the page detects the controller.
- Take your thumbs completely off the stick(s) and lay the controller flat on a table.
- Read the resting position. The test reports PASS, DRIFTING, or FAIL for each stick it can read.
Because the test runs locally in your browser, nothing about your controller is uploaded anywhere — the reading happens on your own device.
If you see “non-standard controller” instead of a verdict: the browser can only score a controller it detects as a standard gamepad. A Pro Controller usually qualifies; a single Joy-Con sometimes doesn’t, and the test then withholds a verdict rather than guess from positions it can’t trust. If that happens, try the Pro Controller or reconnect — a withheld verdict is the test refusing to hand you a wrong reading, not a sign your stick is fine.
How to read your result
The test reports each stick on its own, because drift usually starts on one stick before the other:
- PASS — the stick’s resting offset is below this test’s drift threshold, so it’s very unlikely any game will treat it as input. Nothing to worry about.
- DRIFTING — the stick rests off-center by a small but real amount. You may already feel it in fast-paced games, and it tends to get worse. This is the stage to act on early.
- FAIL — the stick reports significant constant input at rest. This is the drift you feel in everyday play, and it points to physical wear.
Write the verdict down. It’s your before reading — if you try any fix later, you’ll re-run this same Switch controller drift test and compare, so you can see whether a fix actually moved the result instead of just feeling better.
Is it really drift, or just a setting?
A stick that wanders isn’t always worn hardware. Two things produce the same symptom:
- High in-game sensitivity makes tiny inputs feel huge.
- A deadzone set too low lets a game react to the smallest resting offset.
The drift test helps by reading the controller’s reported input directly in your browser, outside any one game’s own sensitivity or deadzone settings. If the test says PASS but one game still drifts, check that game’s deadzone and sensitivity first before blaming the hardware. If the test says DRIFTING or FAIL, the controller is reporting a measurable resting offset — game settings may mask it, but they don’t repair the underlying input.
Switch-specific things to check first
Before you conclude the hardware is worn, the Switch has free fixes worth trying:
- Recalibrate. In System Settings → Controllers and Sensors → Calibrate Control Sticks, follow the on-screen steps. This re-centers the stick on the console; whether it changes what your computer reads can vary, so re-test in the browser to confirm.
- Update the controller. Under System Settings → Controllers and Sensors → Update Controllers, install any firmware. Controller firmware updates are worth installing before you retest.
- Re-test after each. Run the Switch controller drift test again after recalibrating and after a firmware update — if the verdict returns to PASS, the resting offset is back under the threshold and you’ve fixed it for free.
What to do if your Joy-Con fails the test
If the controller still reads DRIFTING or FAIL after recalibrating and updating, the contacts are likely worn and the fix moves into cleaning and, eventually, the stick module.
Check Nintendo’s repair option first. Nintendo has run free Joy-Con stick repair in several regions — before you pay for parts or open the controller yourself, check your local Nintendo support page to see whether you qualify.
The cheapest-first order — recalibrate, raise the deadzone, clean the stick, then replace the module — is covered in detail in how to fix stick drift. Many people replacing a Joy-Con stick choose a hall-effect module, which uses magnets instead of a wearing contact strip and so doesn’t drift the same way. Whatever you try, keep the habit from this page: re-test after every step and stop the moment the verdict returns to PASS.
Frequently asked questions
Will testing my controller damage it? No. The test only reads the stick position your controller already reports. It changes nothing on the device and uploads nothing.
Can I test both Joy-Cons at once? The browser sees each Joy-Con as its own device, so test them one at a time — pair one, read its stick, then switch to the other.
My test says PASS but a game still drifts — why? That usually points to in-game sensitivity or a deadzone set too low in that specific game. Adjust that game’s controller settings before concluding the hardware is bad.
Do I need the dock or a special cable? No. A Bluetooth pairing to any PC or Mac is enough; a Pro Controller over USB-C is often the most reliable way to get a stable reading.
The honest way to deal with Joy-Con drift is to measure it, not guess. Run the free Nintendo Switch controller drift test with your thumbs off the sticks, note the verdict for each stick, and you’ll know in seconds whether your controller needs attention. Want to check the buttons, triggers and rumble too? Use the full controller tester on the homepage.